Introduction
Life is filled with special moments, and sometimes, the simplest joys can bring us the brightest smiles. Picture this: you’re in the kitchen, the sweet aroma of baked fruit wafting through the air, and your loved ones gathering around the table, excited to taste your latest creation. This is where the Delightful Cherry Pie Crumb Bars come into play, transforming an ordinary day into a cherished memory. These bars not only satisfy your sweet tooth but also create a warm and inviting atmosphere that brings everyone closer together.
Cooking can often feel like a race against time, especially for busy moms or professionals juggling multiple responsibilities. But don’t worry—this recipe is designed to be quick and easy, allowing you to whip up a delightful dessert without spending hours in the kitchen. As you slice into the gooey cherry filling and crumbly topping, you will feel the satisfaction of creating something delicious that can be enjoyed with family or friends. So, let’s dive into the world of Cherry Pie bliss with these scrumptious crumb bars!
Why we love this recipe Tender cookies:
The crust for these Cherry Pie crumb bars is wonderfully tender yet perfectly crisp, providing the ideal base for the sweet cherry filling. It strikes that perfect balance between being soft enough to melt in your mouth while still offering a delightful crunch. Each bite is a reminder of how the simplest ingredients can come together to create something truly magical.
Cherry Pie: A Classic with a Twist
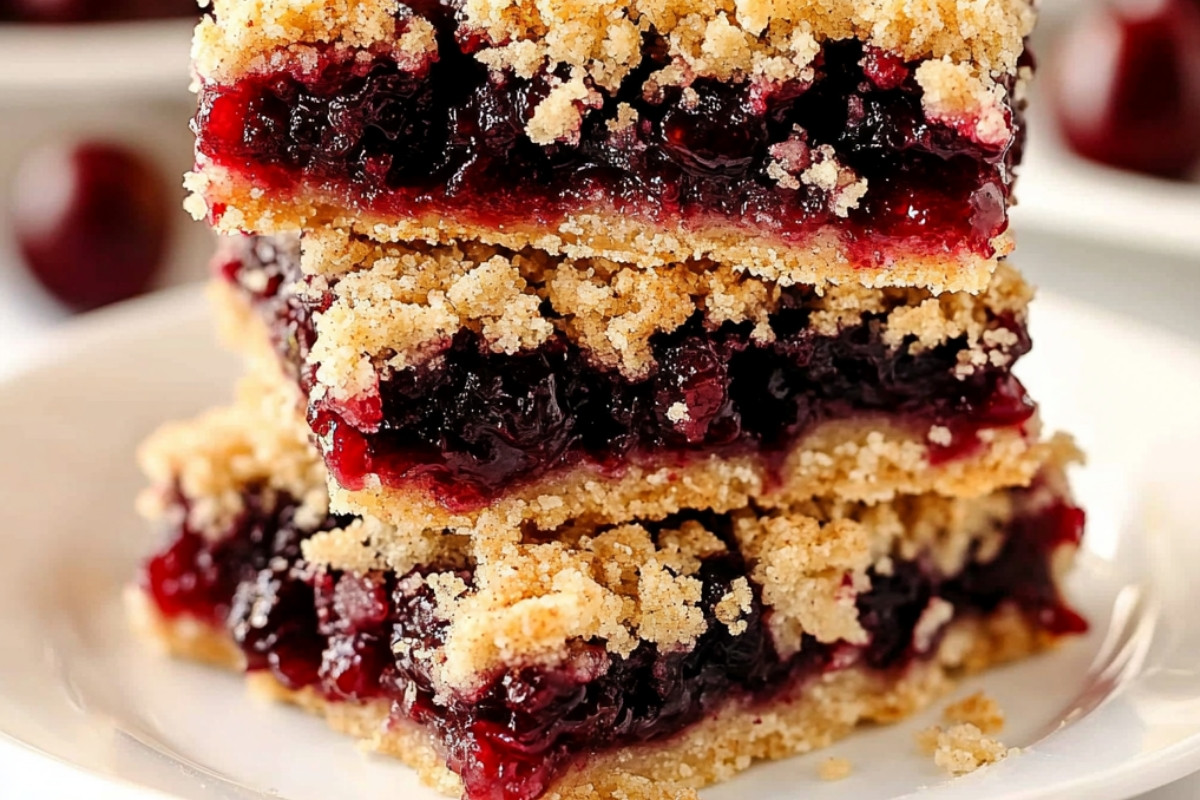
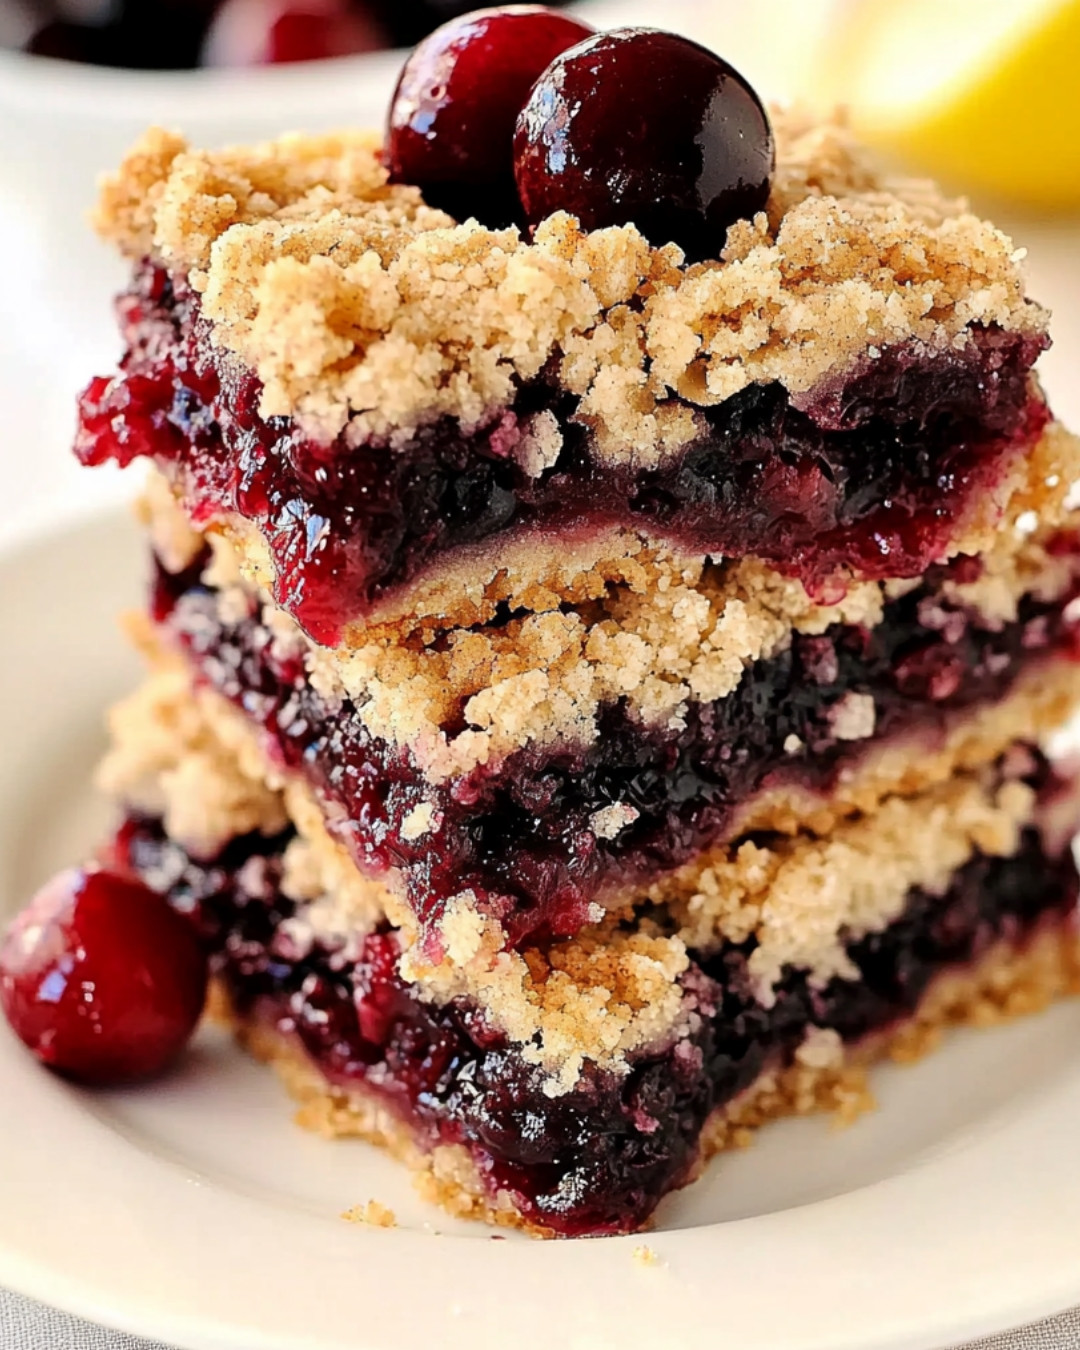
What makes this Cherry Pie recipe so special is its delightful twist on a classic favorite. The combination of tart and sweet cherries creates a filling that is bursting with flavor, making every bite a real treat. The crumb topping adds a nice texture, making it impossible to stop at just one piece. Plus, these bars are not only visually appealing, with their vibrant red filling and golden topping, but they also hold a nostalgic charm reminiscent of childhood summers spent enjoying homemade desserts!
Step-by-Step Cooking Instructions
Now that you’ve gathered your ingredients and tools, it’s time to dive into the delicious world of baked treats. These Cherry Pie crumb bars will not only fill your kitchen with an inviting aroma but will also make every taste bud dance with delight. Follow these steps to bring this delightful dessert to life, blending buttery, crumbly crust with sweet and tart cherry filling.Step 1: Preheat the Oven
Begin your journey by preheating your oven to 350°F (175°C). This crucial step ensures that your crumb bars bake evenly and develop that golden, mouth-watering finish. The aroma of baking will soon fill your home, enticing everyone around!Step 2: Prepare Your Baking Dish
Grab a 9×13-inch baking dish and lightly grease it with cooking spray or butter. This will prevent your delicious Cherry Pie crumb bars from sticking, allowing for easy removal once they are baked to perfection. If you’re feeling creative, consider lining the dish with parchment paper for extra ease.Step 3: Make the Crust and Topping Mixture
In a large mixing bowl, combine flour, oats, brown sugar, and baking soda. Mix these dry ingredients together until combined. Gradually add in melted butter, ensuring everything is blended well. This mixture should resemble coarse crumbs, creating that perfect crumbly texture for both the base and the topping. Save a portion for sprinkling later; this will add a wonderful crunch!Step 4: Set Aside for the Cherry Filling
Take a portion of your crumb mixture (about 1 cup) and set it aside in a separate bowl for the topping. The remaining mixture will be pressed into the prepared baking dish, forming the base of your Cherry Pie crumb bars. Press down firmly to create an even layer. This is where the magic begins!Step 5: Prepare the Cherry Filling
In another bowl, combine your fresh or frozen cherries with sugar and cornstarch. Stir gently to coat the cherries completely. This mixture should be juicy but not too runny; you want your Cherry Pie filling to set beautifully without making the crust soggy. If you love that extra zing, feel free to mix in a splash of lemon juice!Step 6: Assemble the Bars
Now for the fun part! Spread the cherry filling evenly over the crust layer in the baking dish. This will be the heart of your delicious creation. Once evenly spread, sprinkle the reserved crumb mixture generously over the top. This will create a delightful crumble that contrasts beautifully with the sweet cherry filling.Step 7: Bake
Place your assembled dish in the preheated oven. Let it bake for 30-35 minutes or until the top is golden brown and bubbly. You’ll know it’s time when the aroma of warm cherries and buttery crumbs fills the air. It’s the moment you’ve been waiting for!Step 8: Cool and Serve
Once baked, allow your Cherry Pie crumb bars to cool completely in the dish. This step is essential as it helps the filling set further. After cooling, cut them into squares or rectangles and serve. Consider topping with a scoop of ice cream or a dollop of whipped cream for an indulgent twist!Detailed Directions and Instructions
Notes on Ingredients
Using fresh cherries brings a burst of flavor that transforms these crumb bars into a standout dessert. However, frozen cherries can work just as well, and they are perfect for those who want to enjoy Cherry Pie year-round. Just be sure to thaw them and drain any excess liquid to avoid a soggy filling!Storing Leftovers
If you find yourself with any leftover crumb bars (unlikely, but it can happen!), store them in an airtight container. They can last up to three days at room temperature. Feel free to microwave them gently for a few seconds to bring back their warmth before devouring.Personal Touches
Don’t hesitate to add your personal flair! A sprinkle of cinnamon in the crust or even a swirl of almond extract in the filling can elevate these Cherry Pie crumb bars to new heights. Experiment with flavors and find that perfect combination that resonates with your taste buds!Exploring Variations
Get adventurous with your ingredients! While cherries are a classic choice, feel free to mix in strawberries, blueberries, or even peaches for a delightful twist. Each fruit brings its character, ensuring that each batch can be unique, and you can enjoy endless combinations of your favorite fruits in these crumb bars.Perfect Pairing Suggestions
Consider serving your Cherry Pie crumb bars alongside a refreshing beverage. A cup of coffee, iced tea, or even a scoop of vanilla ice cream creates a perfect complement to the sweetness of the bars. Your family and friends will be asking for seconds!How to Customize Your Crust
Want to make it a little healthier? You can substitute half of the all-purpose flour with whole wheat flour or almond flour. This not only adds flavor but also boosts the nutritional profile of your Cherry Pie crumb bars. It’s a delightful way to indulge while being mindful of your eating habits!Common Mistakes to Avoid
When making these delightful Cherry Pie crumb bars, avoid overmixing the crust mixture as it can lead to tough bars. Also, be mindful of the baking time—checking them a few minutes early can prevent over-baking. Lastly, ensure that the cherries aren’t too watery to avoid a soggy crust. Enjoy every luscious layer and savor the process!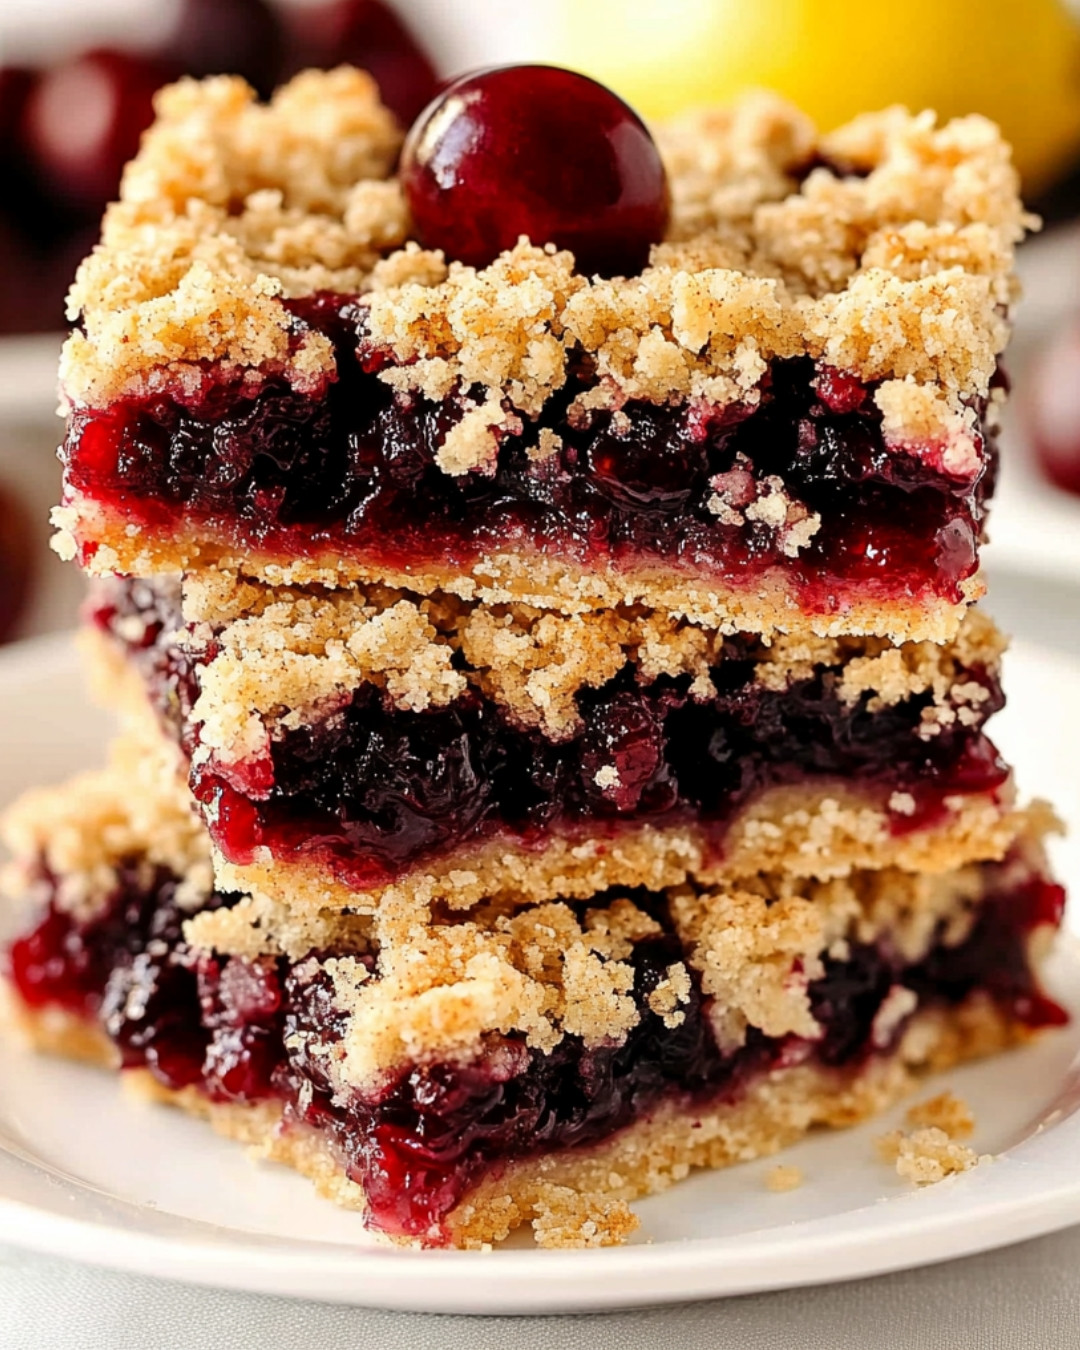
Key ingredients : Cherry Pie Crumb Bars Recipe
- 1 cup granulated sugar
- 1 teaspoon baking powder
- 3 cups all-purpose flour
- 1/4 teaspoon salt
- Zest of one lemon
- 1 cup unsalted butter, cold
- 1 large egg
- 4 cups fresh or frozen cherries, pitted and halved
- 1/2 cup granulated sugar
- 4 teaspoons cornstarch
Preparation Time
- Prep Time: 20 minutes
- Cook Time: 45 minutes
- Total Time: 65 minutes
- Yield: 12 bars
Cook techniques
Preparing the Crust
Start by combining your dry ingredients before mixing in the butter. Ensure that the mixture resembles coarse crumbs, which provides a flaky texture to your crust. Use cold butter for better results.Creating the Filling
To make a delicious filling, mix the Cherry Pie filling components thoroughly. If you’re using fresh cherries, be sure to remove the pits and slice them properly for even cooking.Assembling the Bars
When layering your Cherry Pie bars, press half of the crust mixture into the pan first. After adding the filling, crumble the remaining crust over the top to create a textured finish.Baking Tips
Bake your bars in a preheated oven. Check for a golden brown color on top, which indicates they are ready. Let them cool completely for better slicing.Serving and Presentation Ideas:
Slice the Cherry Pie crumb bars into neat squares for serving. Consider dusting them with powdered sugar for an elegant touch. Pair them with a scoop of vanilla ice cream or whipped cream for extra indulgence.People Also Ask :
Can I use frozen cherries for the filling? Yes, frozen cherries can be used. Just ensure they are thawed and drained before mixing with the other ingredients to prevent excess moisture. What can I serve with the Cherry Pie crumb bars? These bars pair wonderfully with ice cream, whipped cream, or a dollop of yogurt for a refreshing contrast. How do I store leftover Cherry Pie crumble bars? Store them in an airtight container at room temperature for a few days or refrigerate to keep them fresh for a longer period.Conclusion
Creating these delightful Cherry Pie crumb bars is not just about satisfying your sweet tooth; it’s also a wonderful way to share love and warmth with family and friends. Baking can bring people together, and the aroma of fresh cherries fills the kitchen with nostalgia. As you enjoy your creation, think of the joy it brings to those around you. What are your favorite variations or memories associated with Cherry Pie? We would love to hear your thoughts and experiences!FAQ
Can I use a different type of fruit in the recipe?
Yes, you can substitute other fruits like blueberries, raspberries, or peaches in place of cherries. Adjust the sugar accordingly based on the fruit’s sweetness.Is there a gluten-free option for the crust?
Absolutely! You can use gluten-free flour blends to replace regular flour and create a gluten-free version of your Cherry Pie crumb bars.How long should I cool the Cherry Pie crumb bars before slicing?
Allow the bars to cool completely in the pan before slicing. This helps them set properly and makes for cleaner cuts.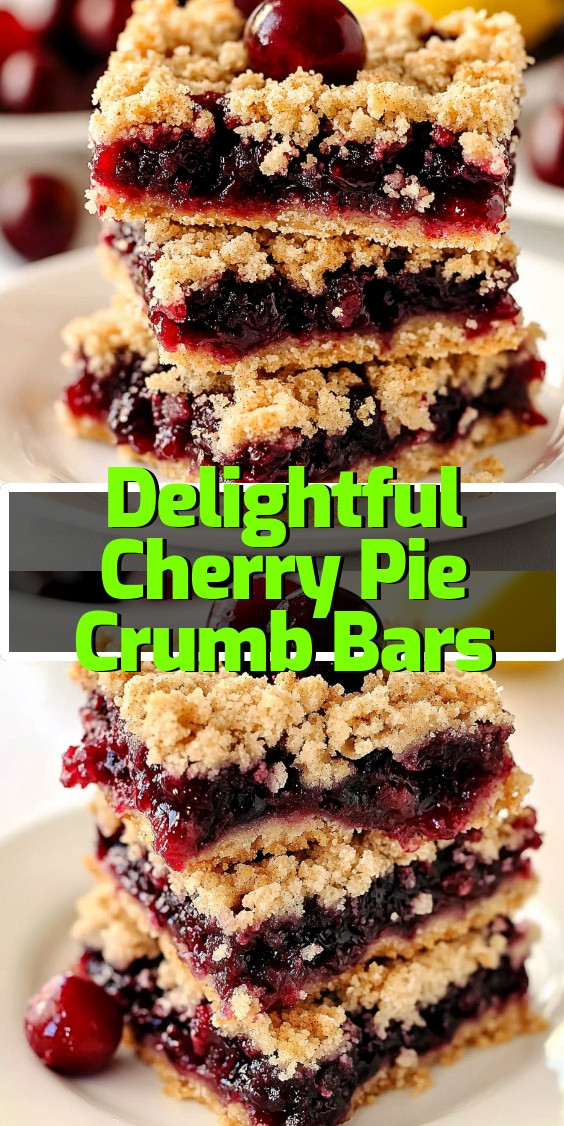
Delightful Cherry Pie Crumb Bars
Indulge in the scrumptious goodness of Delightful Cherry Pie Crumb Bars perfect for any occasion. These irresistible bars combine a buttery crumb topping with a luscious cherry pie filling making every bite a delightful experience. Whether you’re planning a gathering or just craving a sweet treat these bars are sure to impress family and friends. Whip up this delightful recipe with simple ingredients and enjoy the taste of homemade dessert bliss. Click through to discover the full recipe and step-by-step guide to creating these delightful cherry pie crumb bars your family will love.
- Prep Time: 20 minutes
- Cook Time: 45 minutes
- Total Time: 65 minutes
- Yield: 12 bars 1x
Ingredients
- 1 cup granulated sugar
- 1 teaspoon baking powder
- 3 cups all-purpose flour
- 1/4 teaspoon salt
- Zest of one lemon
- 1 cup unsalted butter, cold
- 1 large egg
- 4 cups fresh or frozen cherries, pitted and halved
- 1/2 cup granulated sugar
- 4 teaspoons cornstarch
Instructions
Step 1: Preheat the Oven
Begin your journey by preheating your oven to 350°F (175°C). This crucial step ensures that your crumb bars bake evenly and develop that golden, mouth-watering finish. The aroma of baking will soon fill your home, enticing everyone around!
Step 2: Prepare Your Baking Dish
Grab a 9×13-inch baking dish and lightly grease it with cooking spray or butter. This will prevent your delicious Cherry Pie crumb bars from sticking, allowing for easy removal once they are baked to perfection. If you’re feeling creative, consider lining the dish with parchment paper for extra ease.
Step 3: Make the Crust and Topping Mixture
In a large mixing bowl, combine flour, oats, brown sugar, and baking soda. Mix these dry ingredients together until combined. Gradually add in melted butter, ensuring everything is blended well. This mixture should resemble coarse crumbs, creating that perfect crumbly texture for both the base and the topping. Save a portion for sprinkling later; this will add a wonderful crunch!
Step 4: Set Aside for the Cherry Filling
Take a portion of your crumb mixture (about 1 cup) and set it aside in a separate bowl for the topping. The remaining mixture will be pressed into the prepared baking dish, forming the base of your Cherry Pie crumb bars. Press down firmly to create an even layer. This is where the magic begins!
Step 5: Prepare the Cherry Filling
In another bowl, combine your fresh or frozen cherries with sugar and cornstarch. Stir gently to coat the cherries completely. This mixture should be juicy but not too runny; you want your Cherry Pie filling to set beautifully without making the crust soggy. If you love that extra zing, feel free to mix in a splash of lemon juice!
Step 6: Assemble the Bars
Now for the fun part! Spread the cherry filling evenly over the crust layer in the baking dish. This will be the heart of your delicious creation. Once evenly spread, sprinkle the reserved crumb mixture generously over the top. This will create a delightful crumble that contrasts beautifully with the sweet cherry filling.
Step 7: Bake
Place your assembled dish in the preheated oven. Let it bake for 30-35 minutes or until the top is golden brown and bubbly. You’ll know it’s time when the aroma of warm cherries and buttery crumbs fills the air. It’s the moment you’ve been waiting for!
Step 8: Cool and Serve
Once baked, allow your Cherry Pie crumb bars to cool completely in the dish. This step is essential as it helps the filling set further. After cooling, cut them into squares or rectangles and serve. Consider topping with a scoop of ice cream or a dollop of whipped cream for an indulgent twist!
Notes
Notes
Notes on Ingredients
- Using fresh cherries brings a burst of flavor that transforms these crumb bars into a standout dessert. However, frozen cherries can work just as well, and they are perfect for those who want to enjoy Cherry Pie year-round. Just be sure to thaw them and drain any excess liquid to avoid a soggy filling!
Storing Leftovers
- If you find yourself with any leftover crumb bars (unlikely, but it can happen!) store them in an airtight container. They can last up to three days at room temperature. Feel free to microwave them gently for a few seconds to bring back their warmth before devouring.
Personal Touches
- Don’t hesitate to add your personal flair! A sprinkle of cinnamon in the crust or even a swirl of almond extract in the filling can elevate these Cherry Pie crumb bars to new heights. Experiment with flavors and find that perfect combination that resonates with your taste buds!
Keywords: Cherry Pie